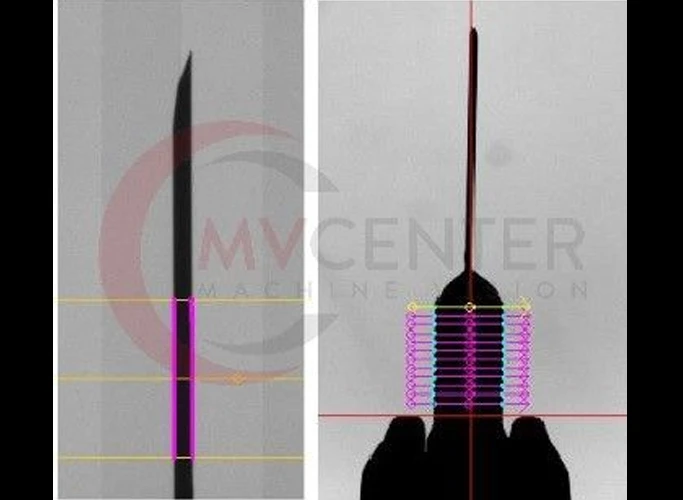
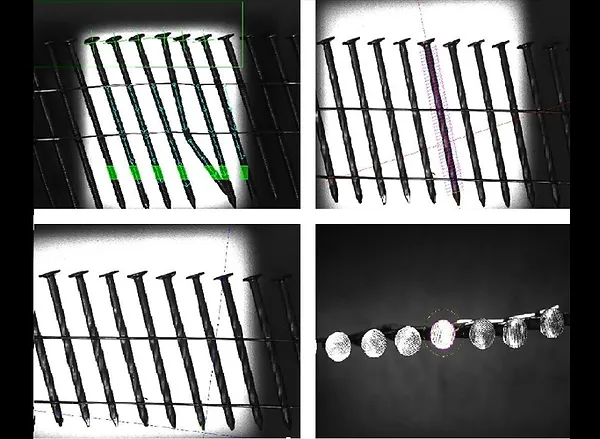
Vision inspection of nails.

Table of contents

The nail inspection vision system was designed and built from the ground up for one of the largest nail factories in Poland. Nails connected by wire are inspected. The purpose of the inspection is to examine nails for:

  • nail length – accuracy +/- 1mm
  • nail inclination angle – accuracy +/- 1 degree
  • curvature of the nail – accuracy +/- 0.5 mm
  • nail diameter – accuracy +/- 0.2 mm
  • spacing between nails attached to the wire
  • nail exacerbations – information about the presence of OK/NOK
  • head shape – accuracy +/- 0.2

The capacity of the production equipment is about 2,500 nails per minute.
Popular:

kamera wizyjna
Realizations

OCR control.

The system checks the quality and accuracy of Arabic printing ( including expiration and production dates) on metal cans.

Read more »

Do you want to know the ROI for your business? Use the calculator:

Take 5 minutes to see how long it takes to recoup your investment in a vision system. Calculate how much you can spend on automating the quality control process to achieve the required ROI.

Consult with us about your needs in the areas of machine vision and automated quality control.

If you are wondering if our solutions will be of value to you, please fill out the form below. We will contact you within 24 hours.